A Leaky Tank
Anything that contains water has the potential to leak. This is a fact. Sometimes, you won’t even realize it’s leaking until it’s too late. Or you might not even think it’ll ever be a problem that will happen to you. There are plenty of factors that can lead to leaks as well. Last time, we took a look at what to do when your toilet tank wobbles. Today we’re going to be looking at another kind of problem that you might have with your toilet. That is what to do when you’re having toilet leaking into bowl issues.
This will be broken into a few sections. First, we’ll cover finding the leak. Second, we’ll talk about how to repair the most common two reasons for it. Then, we’ll answer why, when you do the repairs, you want to generally completely replace most of the parts instead of just the ones that need replacing.
Finding the Leak
The first thing to do is to figure out if you have a leak to begin with at all. With some toilets it’s easier to tell than with others, but a very good way to check is to take a look at your water bill. Is it ridiculously high? That can be an immediate sign that something is wrong. Though this piece is out of date, it still can show how much money you can waste if you have a leak. Of course, this also might mean there’s excess water use, but most people are wasting water like what happens with a leak. Or there could be a leak somewhere else costing you money and water.
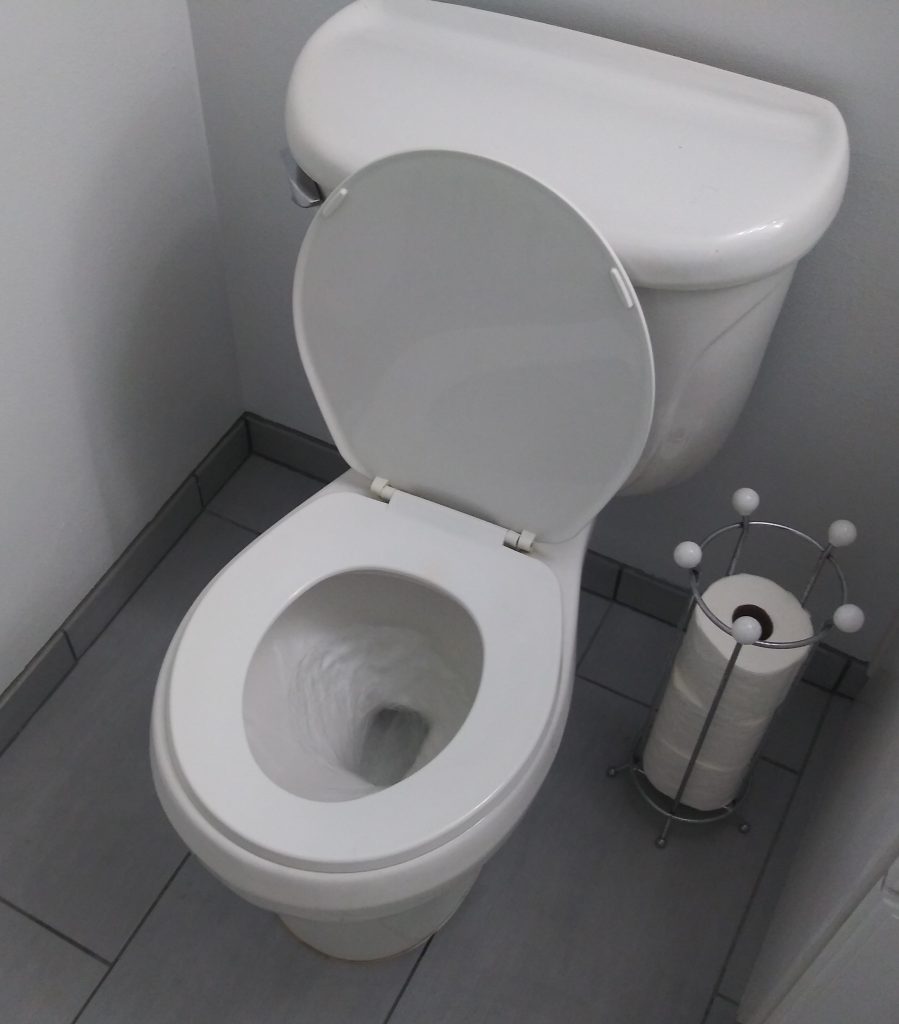
A quicker way to see if you have a leak from the tank into the bowl is to get some food coloring or a fabric softener. Pour it into the tank and then mark the tank’s water level with a marker or other method. Turn off the water to the toilet as well. Step away and wait between 10 and 20 minutes. Come back afterwards and check the bowl for any of the food coloring or fabric softener. If there is any discoloration in there, then your toilet tank is leaking into the bowl. If not, then you’re probably okay.
We then check the tank’s water level, and go from there. If the water level has dropped in the tank, then there’s a problem with the flush valve. If not, then it’s the fill valve. Either way, you’ll have likely found why the toilet leaks into the bowl.
Replacing the Flush Valve
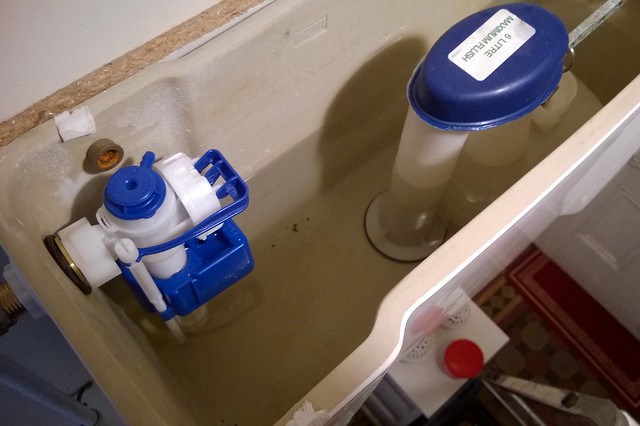
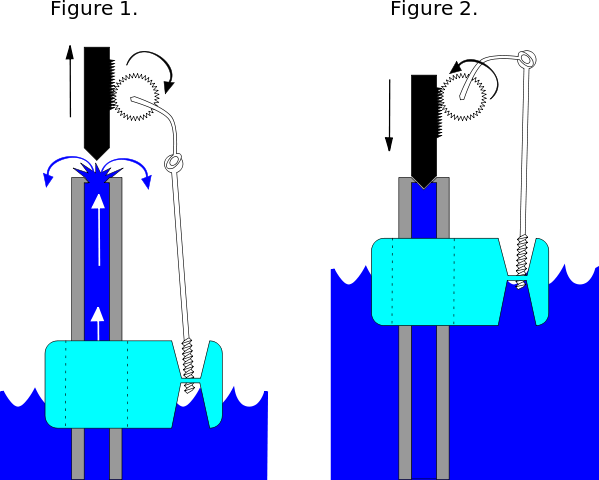
Replacing the flush valve in the toilet is an easy fix, even if it can be a little time consuming. This is the part which opens and lets water into the bowl when you flush the toilet. Leaking into the bowl is actually what the toilet is supposed to be doing. However, with this type of leak the valve itself has become damaged and is causing the tank to have an issue with overfilling. The valve itself is several parts, and generally it’s better to completely replace it. This is because it can be sometimes difficult to determine what part of the valve itself is causing the problem.
Once you’ve gathered your tools and parts, turn off your water. Then drain the tank completely. Afterwards, remove the tank and place it upside-down. Remove the gasket and unscrew the nut that connects to the toilet tank. Remove the flush valve assembly entirely. Once done, slip the new assembly in place and fit it. The rest is straight forward. Attach the gasket and fit the new bolts in place to hold the tank in place.
If you get stuck, here and here are two very in-depth videos on how to go about replacing the valve. Alternatively, a professional plumber like Anchor Plumbing can fix you up pretty easily!
Replacing the Fill Valve
Replacing the fill valve is far easier than replacing the flush valve. You don’t even need to remove the toilet tank from the bowl when this valve leaks and you need to fix it. The fill valve is the part in the toilet that floats up when the tank is filled and stops it from filling the bowl.
To fix the fill valve, as always, first shut off the water to the tank. Then flush it so that the tank empties or is near-empty. You’ll need to then unhook the water supply from the tank to the wall. It’s easy enough to unscrew, but you’ll want something there to catch any more water that will come flowing out when you remove the fill valve assembly. Remove the assembly, catching any water that will come out the bottom. You may need to unhook it from the pipe. From there, slide the new assembly in place. If you have to replace the mount as well, you can unscrew it and then screw in the new one. Once it’s in place, you’ll affix the refill tube so that it can fill the tank. This is a little tube that feeds into part of the flush valve assembly. You can now reconnect the water supply to the tank proper and turn the water back on for the tank. Let it fill, making adjustments with the fill valve’s floating part until it is where it should be.
Why Replace?
There’s a pretty good reason with these that you want to replace the parts rather than just repair them. Regardless of if it’s the tank leaking into a bowl or another problem. That reason is water affecting the parts themselves. Absolutely pure water is oxygen and hydrogen molecules. Even with all the purification that is done to make potable water, there are still things in it. Those things in the water will gradually cause corrosion and damage to the parts in the tank. Replacing all the parts for it at once ensures that everything is in the best condition it could be.
No Comments